前言
使用 Prometheus + Grafana 监控 Redis 已经是很成熟的解决方案了。
但是这次升级将使用 Valkey 替代 Redis,虽然很多文档都说 Valkey 完美兼容 Redis 的生态,包括 Redis Exporter 等,但是还是想亲自测试一下。
方案概述
- 搭建
Prometheus+Grafana监控平台 - 使用 Docker 启动
Redis+Redis Exporter+Redis Insight(可选) - 配置
Prometheus抓取Redis Exporter的指标 - 在
Grafana中创建 Dashboard 展示Valkey - 其他优化项
- 关闭透明大页 (THP, Transparent Huge Pages)
- 优化 overcommit_memory
- 优化 somaxconn
操作步骤
一、搭建 Prometheus + Grafana 监控平台
直接参考我的另一篇文章:搭建 Prometheus + Grafana 监控平台并使用 Node Exporter 监测服务器状态
二、使用 Docker 启动 Valkey + Redis Exporter + Redis Insight(可选)
简单介绍一下除
Valkey外的其他两个容器:
Redis Exporter:将Redis的指标暴露给Prometheus抓取,仓库:oliver006/redis_exporterRedis Insight:Redis官方的可视化工具,可以用来查看/编辑Redis中的数据,仓库:redis/RedisInsight
我这里选择将所有相关文件都放在 /opt/valkey 目录下:
mkdir -vp /opt/valkey
cd /opt/valkey
考虑到我对 Valkey 有点其他要求:
- 设置密码认证
- 启用多核心
- 关闭 AOF 持久化来减轻磁盘压力
- 关闭 RDB 持久化来减轻磁盘压力
所以先创建 redis.conf 配置文件:
nano redis.conf# 绑定所有网卡(配合 host 网络模式)
bind 0.0.0.0
protected-mode no
# 设置密码认证
requirepass your_password
# 启用多核心
io-threads 4
io-threads-do-reads yes
# 关闭 RDB 自动快照
save ""
# 关闭 AOF 持久化
appendonly no接着创建 docker-compose.yml 文件:
nano docker-compose.ymlversion: '3.8'
services:
valkey:
image: valkey/valkey:9
container_name: valkey
restart: unless-stopped
ports:
- 6379:6379
volumes:
- ./redis.conf:/etc/valkey/valkey.conf
command: ["valkey-server", "/etc/valkey/valkey.conf"]
redis-exporter:
image: oliver006/redis_exporter:v1.82.0
container_name: redis-exporter
restart: unless-stopped
environment:
- REDIS_ADDR=redis://valkey:6379
# 修改为实际密码
- REDIS_PASSWORD=your_password
ports:
- 9121:9121
depends_on:
- valkey
redisinsight:
image: redis/redisinsight:3.2
container_name: redisinsight
restart: unless-stopped
environment:
- RI_REDIS_HOST=valkey
- RI_REDIS_PORT=6379
# 修改为实际密码
- RI_REDIS_PASSWORD=your_password
ports:
- 5540:5540
depends_on:
- valkey启动容器:
docker compose up -d检查日志:
docker logs valkey没问题的话,打开 http://<服务器IP>:5540 访问可视化页面,然后选中 valkey:6379 便可同时确认 Valkey 和 Redis Insight 的启动状态:

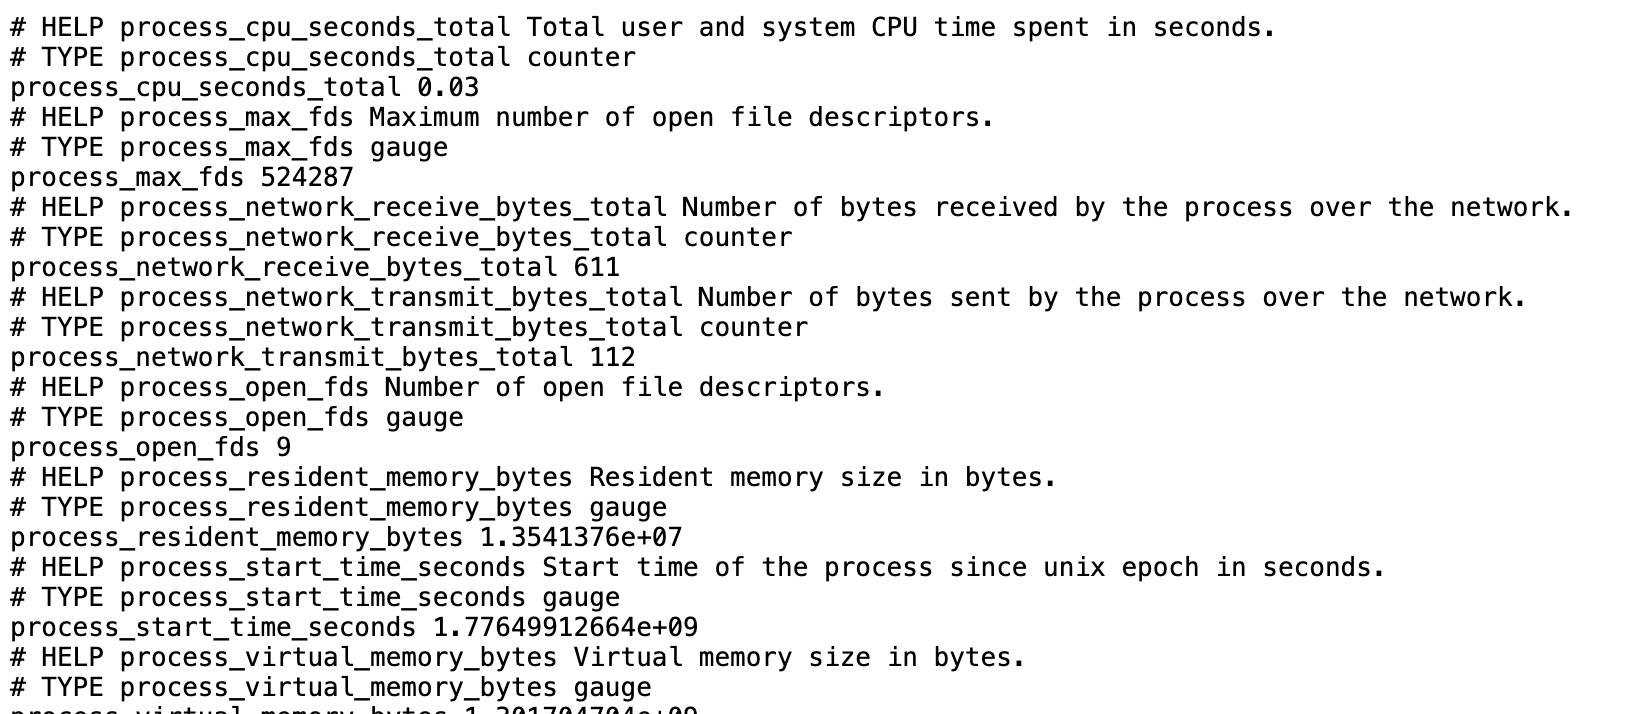
再访问 http://<服务器IP>:9121/metrics 查看 Redis Exporter 的指标:
三、配置 Prometheus 抓取 Redis Exporter 的指标
切换到 Prometheus 所在的主机,编辑 prometheus.yml 文件:
nano /opt/prometheus/prometheus.yml在 scrape_configs: 下添加 Redis Exporter 的抓取配置:
  - job_name: 'redis-exporter'
    static_configs:
      - targets: ['<服务器IP>:9121']
保存后,重新加载 Prometheus 的配置:
curl -X POST http://localhost:9090/-/reload四、在 Grafana 中创建 Dashboard 展示 Valkey 的指标
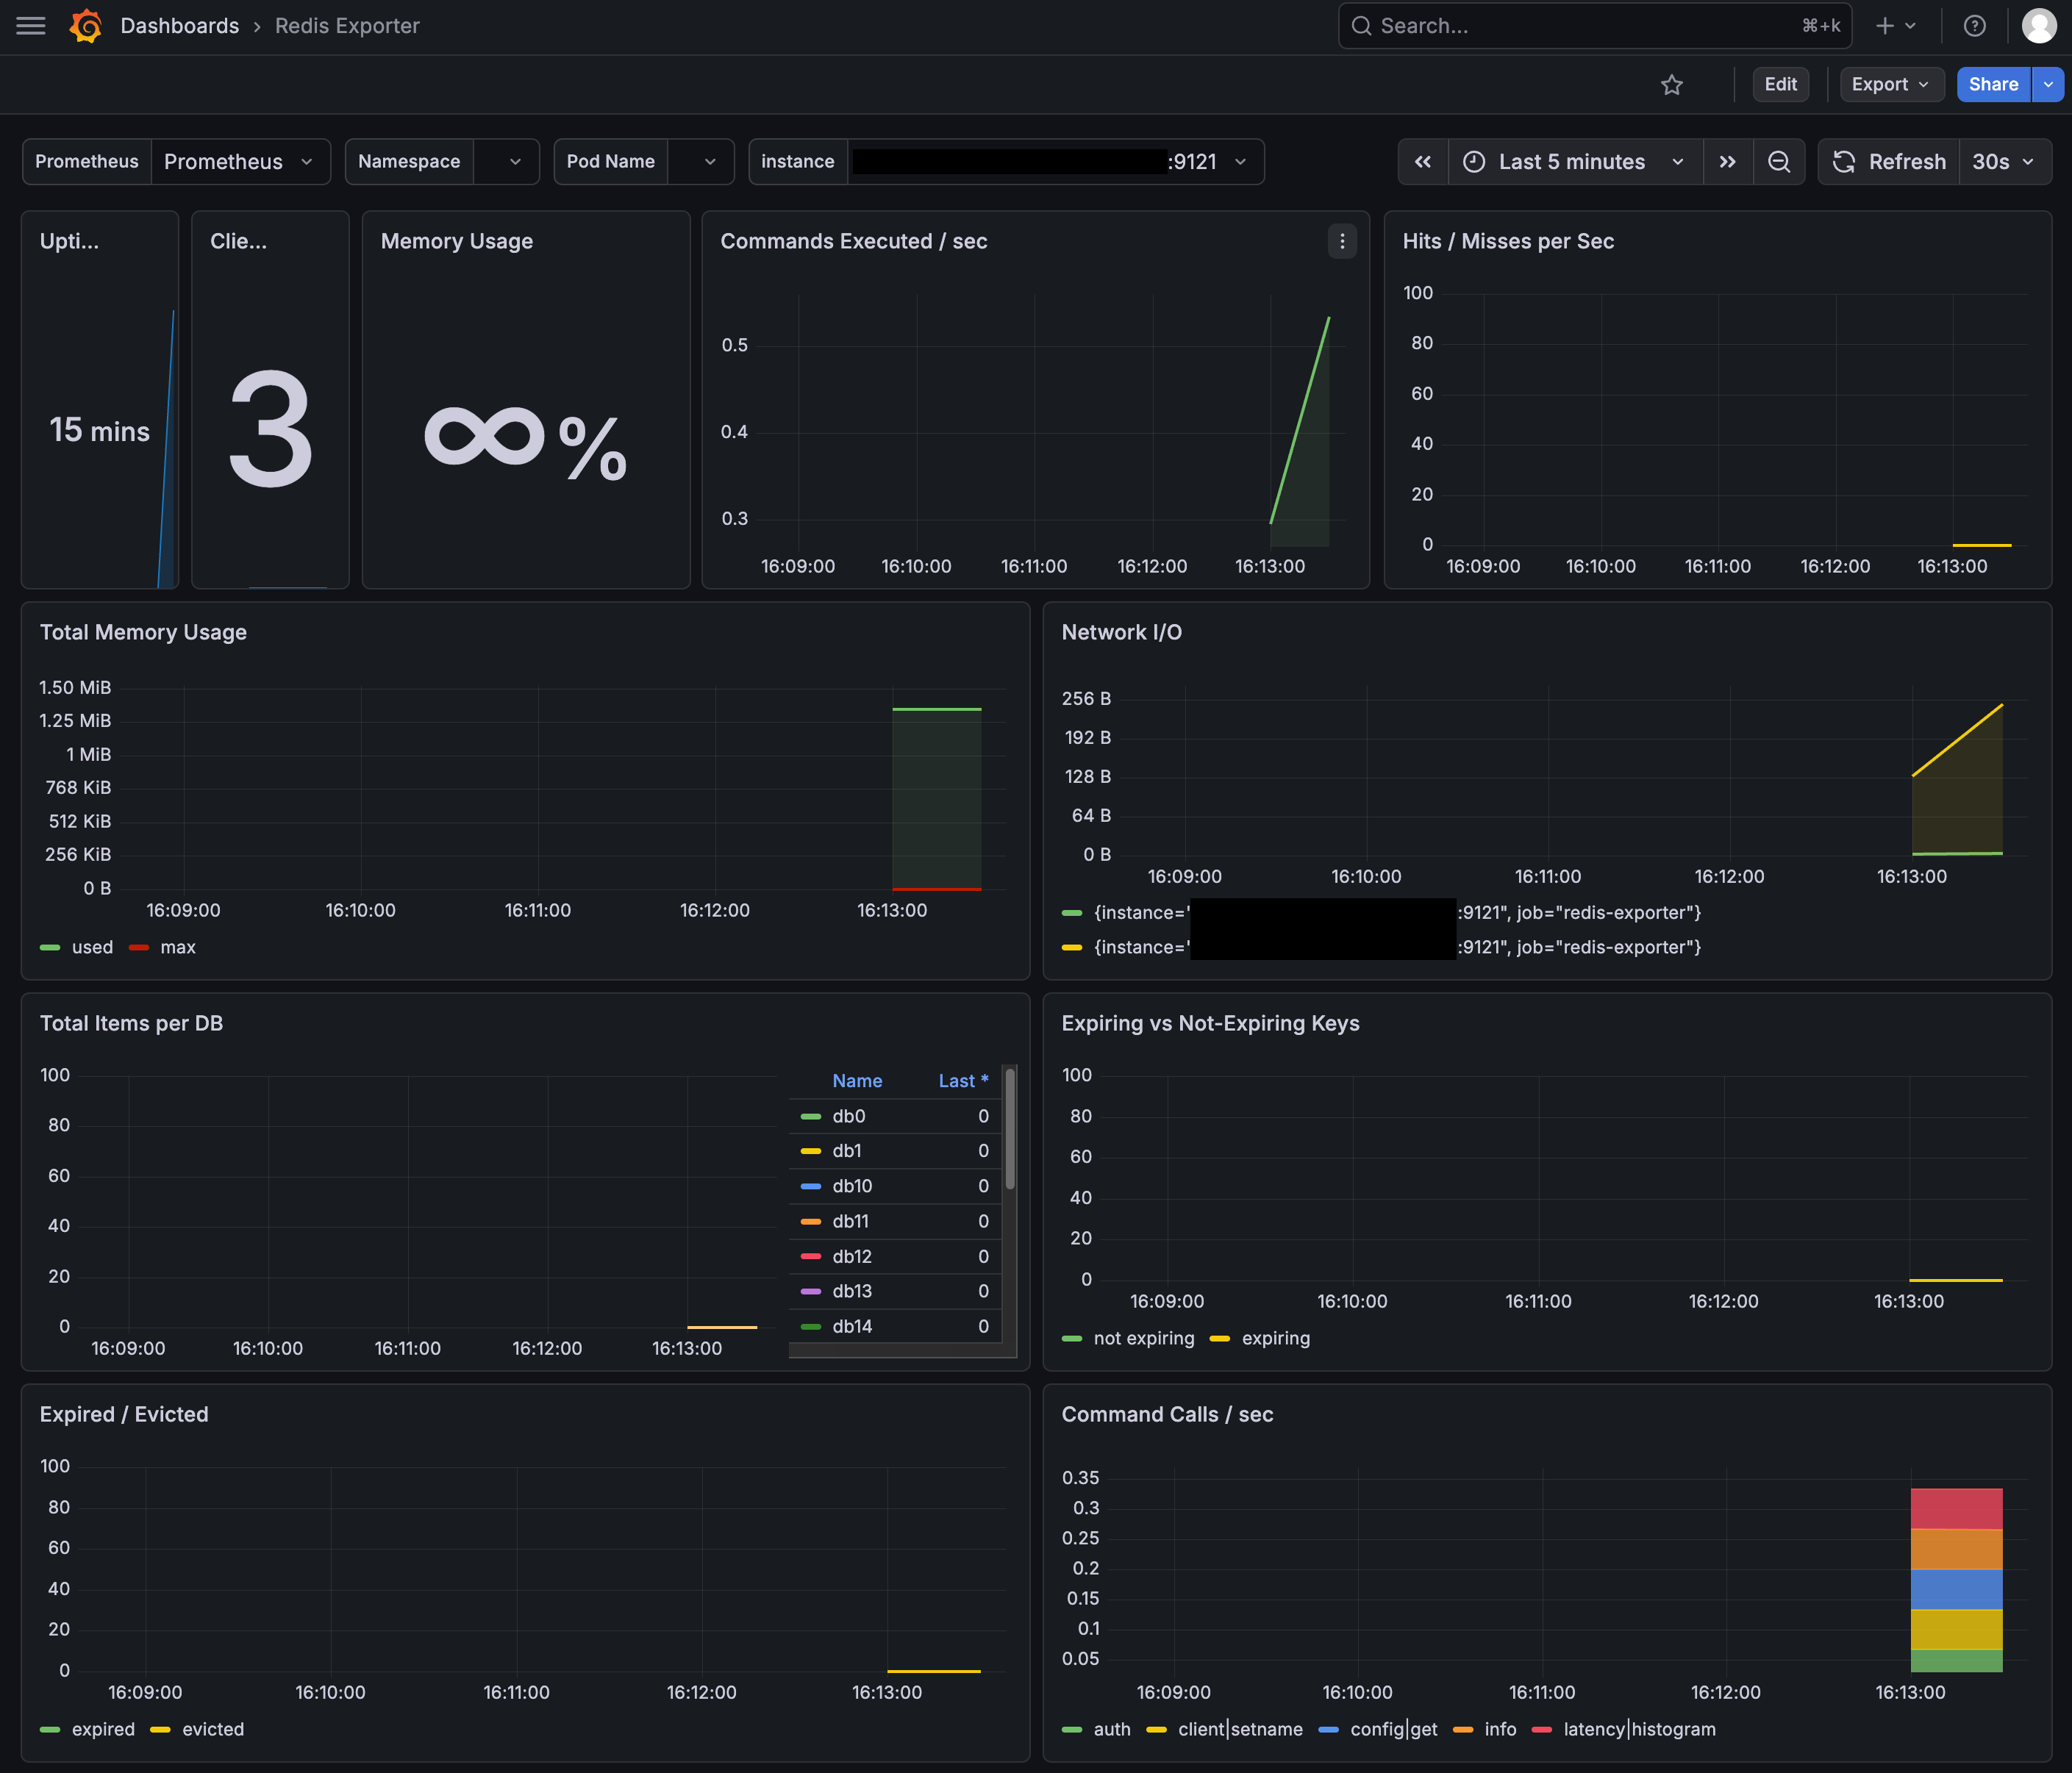
我这里依然直接引用现成的 Redis 的 Dashboard 模板 Redis Dashboard for Prometheus Redis Exporter (helm stable/redis-ha),其编码为 11835。
最终成品如下:
五、其他优化项
1、关闭透明大页 (THP, Transparent Huge Pages)
Linux 默认开启的 THP 会将 4KB 的内存页合并为 2MB,这会导致 Valkey 在进行后台操作引发严重的延迟尖峰。
这里我们需要创建一个 systemd 服务来禁用 THP:
# 创建 systemd 服务文件
cat <<EOF > /etc/systemd/system/disable-thp.service
[Unit]
Description=Disable Transparent Huge Pages (THP)
DefaultDependencies=no
After=sysinit.target local-fs.target
Before=docker.service
[Service]
Type=oneshot
ExecStart=/bin/sh -c 'echo never > /sys/kernel/mm/transparent_hugepage/enabled && echo never > /sys/kernel/mm/transparent_hugepage/defrag'
[Install]
WantedBy=basic.target
EOF

# 重新加载 systemd 并设置开机自启
systemctl daemon-reload
systemctl enable --now disable-thp.service

# 之后在你准备好所有事情后,记得重启下
# reboot
2、优化 overcommit_memory
在使用 docker logs valkey 查看日志时,你会注意到顶部的警告信息:
1:M 18 Apr 2026 07:58:47.266 # WARNING Memory overcommit must be enabled! Without it, a background save or replication may fail under low memory condition. Being disabled, it can also cause failures without low memory condition, see https://github.com/jemalloc/jemalloc/issues/1328. To fix this issue add ‘vm.overcommit_memory = 1’ to /etc/sysctl.conf and then reboot or run the command ‘sysctl vm.overcommit_memory=1’ for this to take effect.
它的意思是 Valkey 的内存分配机制需要开启内存超额分配,否则在低内存条件下,后台保存或复制可能会失败。
由于 Linux 的默认策略是禁用内存超额分配的,以防止出现新申请的内存加上已分配的内存超过物理内存总和的情况。
而在实际情况中,得益于 COW 机制,Valkey 新建的子进程不会花到 Linux 预想的那么多内存,所以这里我们直接开启内存超额分配:
echo "vm.overcommit_memory = 1" >> /etc/sysctl.conf

sysctl -p
3、优化 somaxconn
Linux 系统的 TCP 全连接队列最大长度从默认的 128 增大到 1024。Valkey 是高并发服务,如果瞬间涌入大量连接,较小的队列会导致后续请求直接被丢弃。
所以这里我们直接将 somaxconn 增大到 1024:
echo "net.core.somaxconn = 1024" >> /etc/sysctl.conf

sysctl -p
结束。